|
用Alias Studiotools软件和手绘板手绘剃须刀教程
1a) -Upon opening Alias go FILE >NEW.(新建一个文件)
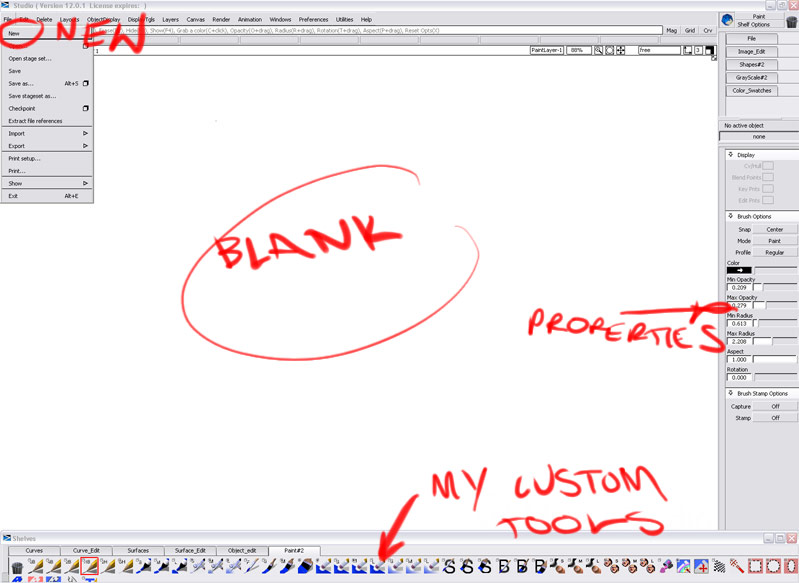
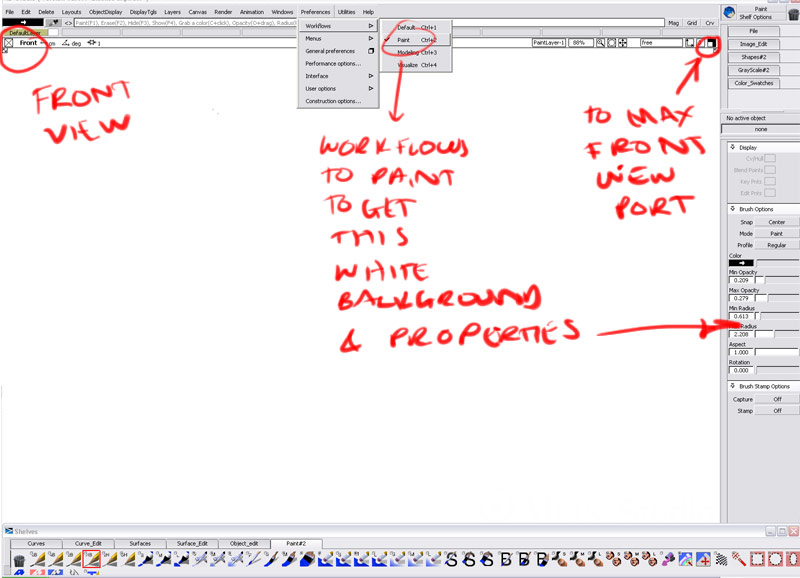
1b) -Change to paint mode PREFERENCES>WORKFLOWS>PAINT (将模型模式转换到绘图模式)
(Alias view ports can be changed from modelling(grey background) to paint which is white. This Also brings up the properties tools on the right to edit brushes and colours etc..)
- Choose any view port and expand it (front, right, top, perspective) it doesn’t matter because wherever you start drawing it creates a plane canvas normal to the view.
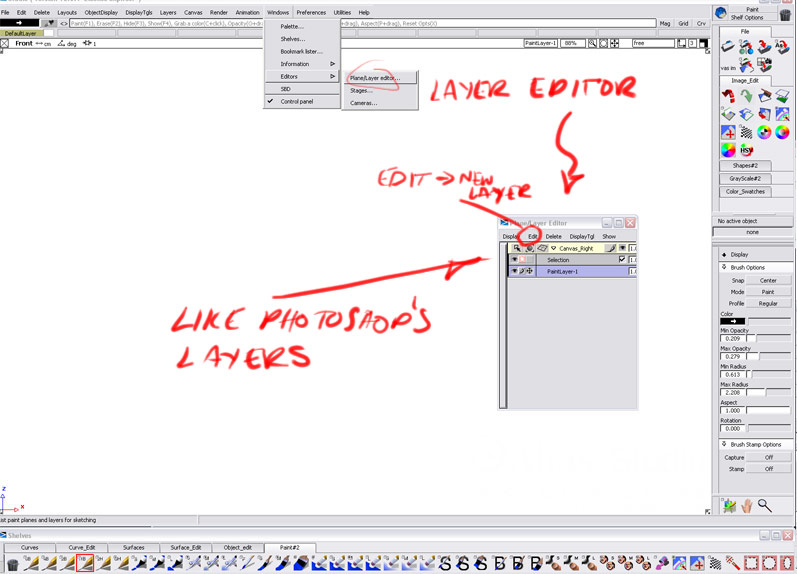
1c) To get Layers up you select WINDOWS>EDITORS>LAYER EDITOR. (打开图层 类似photoshop的)This layer box is the same as photoshop. When first opened the box may only contain canvas so expand it to see layers within canvas. The menu options in this box have all the layer things like merge, new layer etc..
Also a very important step is to increase the quality of the image by going to PREFERENCES>GENERAL PREFERENCES> then go to paint and select HIGH quality.
I found it really hard without knowing this at first because the lines become jaggy at certain random zooms (选择高质量模式)
2) Now here I was being really rough. On a new layer I quickly drew some general lines. You may have done some form exploration on paper and looked at other shaver photos but for this tutorial I just made it up without to much fussing over design. (在一个新图层上粗绘)

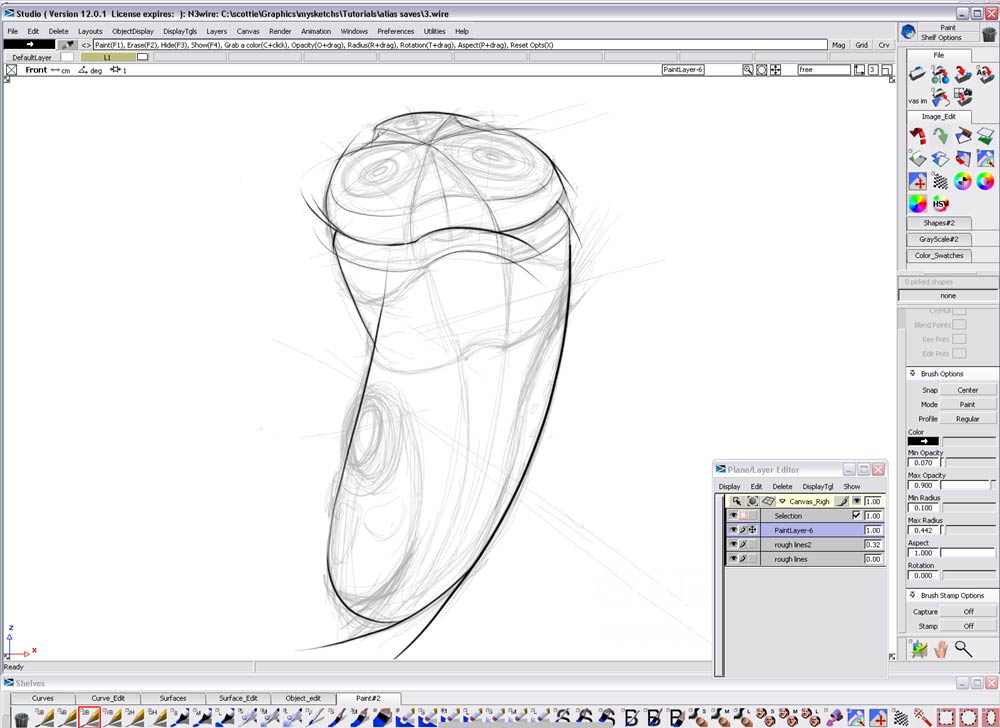
3) On a new layer above the ‘rough lines’ I redrew the shaver and now added some design changes. The layer below is made transparent by 90% via click and dragging the ‘1.0’ number to the right and the layer name.(在刚才粗线条图层之上 重新描绘)
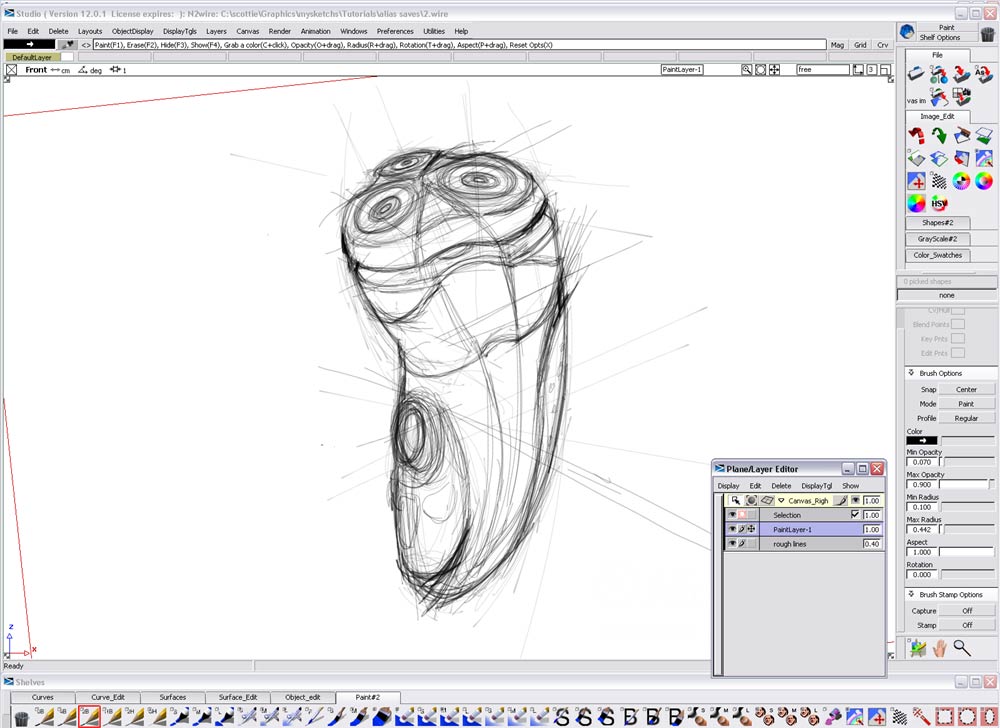
4)Next a third layer is created for final lines. My tactic to making the lines look dynamic is the use calligraphic line weights i.e. thick to thin. Here I rotated the canvas to draw the lines on my tablet. If you want you can erase the lines back but they look cool left for now. To rotate the canvas zoom out (shift +alt+right click) enough to see the canvas edge and marking menus (shift +ctrl+middle mouse) select rotate and click canvas edge and use middle mouse to rotate. (在第3个图层上绘制最终线条)
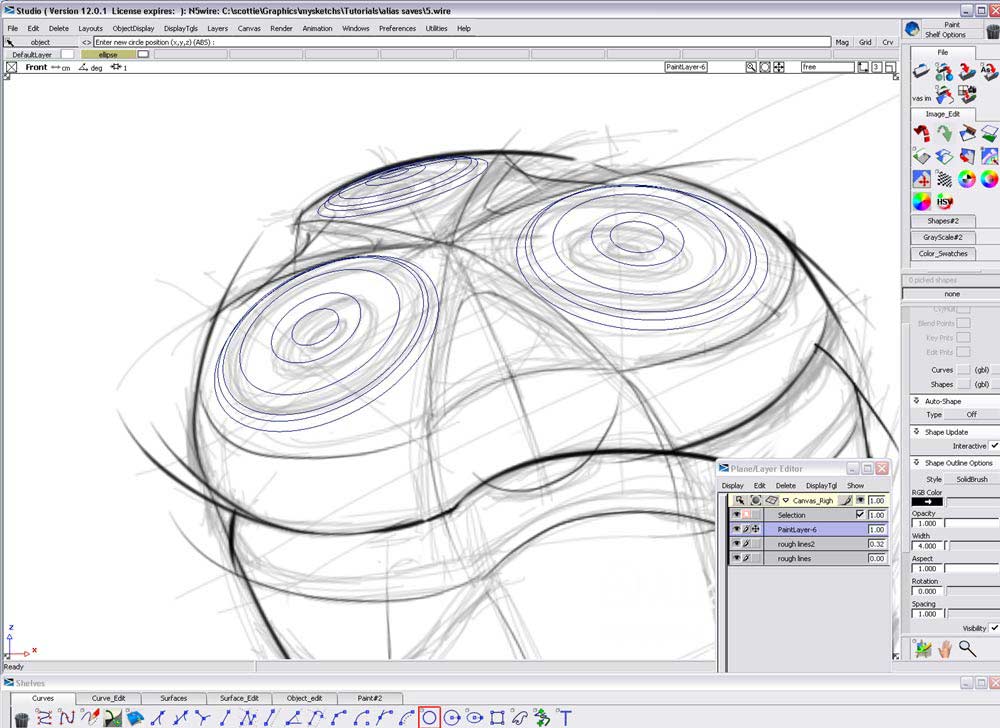
5) Now to make elipses I used curves and copied and pasted into position. Look at modelling tutorials to find out how. Then with pencil hold ctrl+alt to snap the pencil to curve and draw around elipse.(铅笔工具 同时按住ctrl+alt 可以追踪曲线)
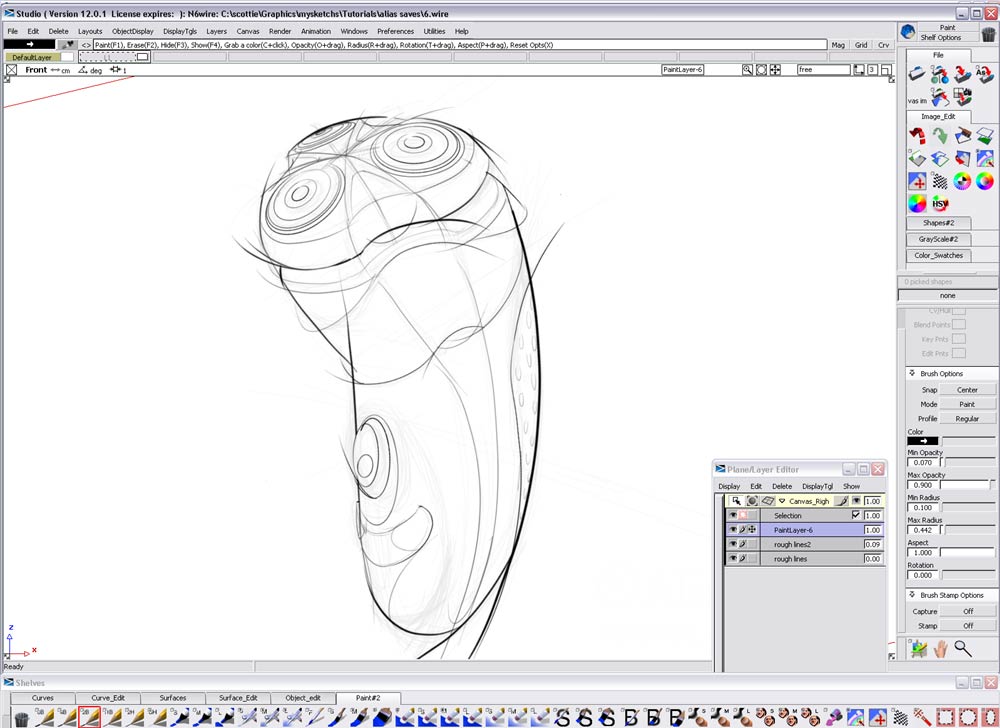
6) Added in some more little lines and get rid of rough lines layer. Finished lines!!!(加一些小线条 完成线条处理)
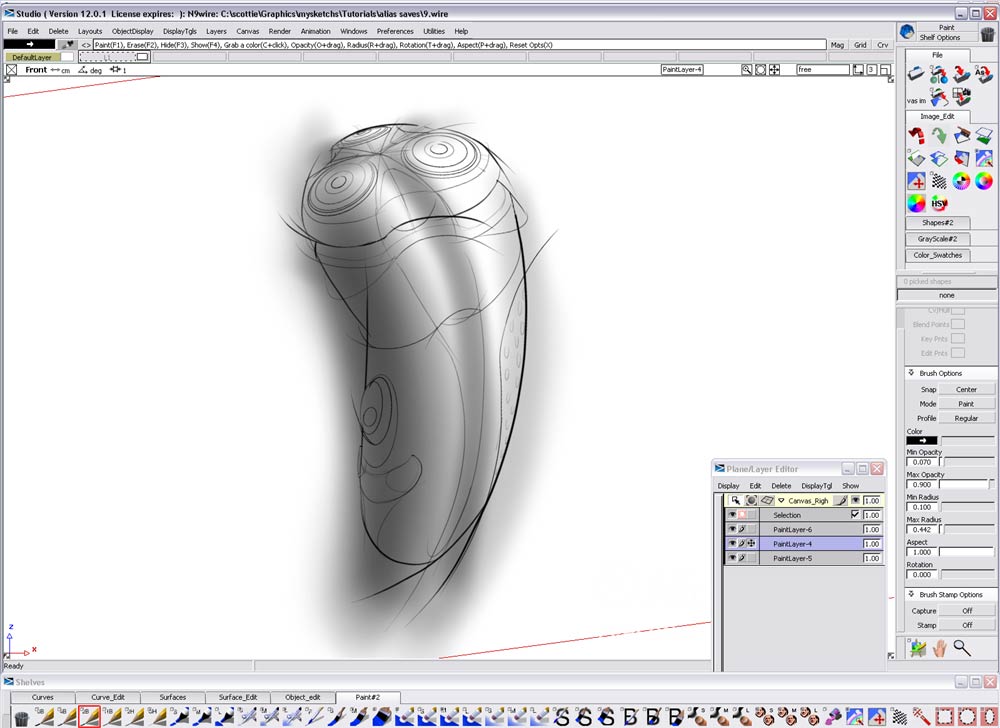
7) Add new layer and with black airbrush get the values right. This is just one way which I found quick.(上色阶段)
续:用Studiotools手绘剃须刀教程(2)
更多文章请查看:工业设计手绘草图技法教程专题
| 


